Understanding Prototypes and Fidelity
A prototype is an initial model of a product that shows its functionality without needing to build the whole thing.
Fidelity refers to how closely a prototype matches the final product in terms of appearance and user experience.
Types of Prototypes
Low-Fidelity Prototypes are simple, interactive models that give a basic idea of the product’s design. These can be:
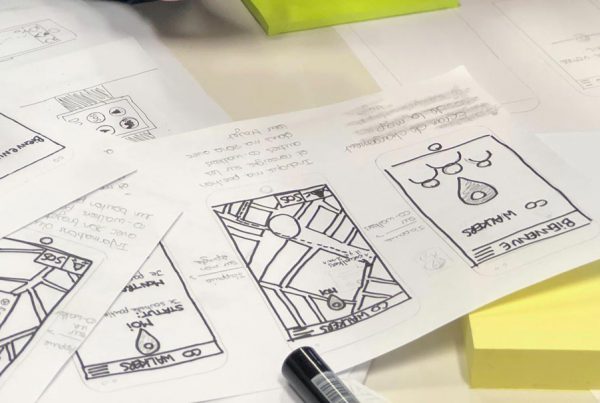
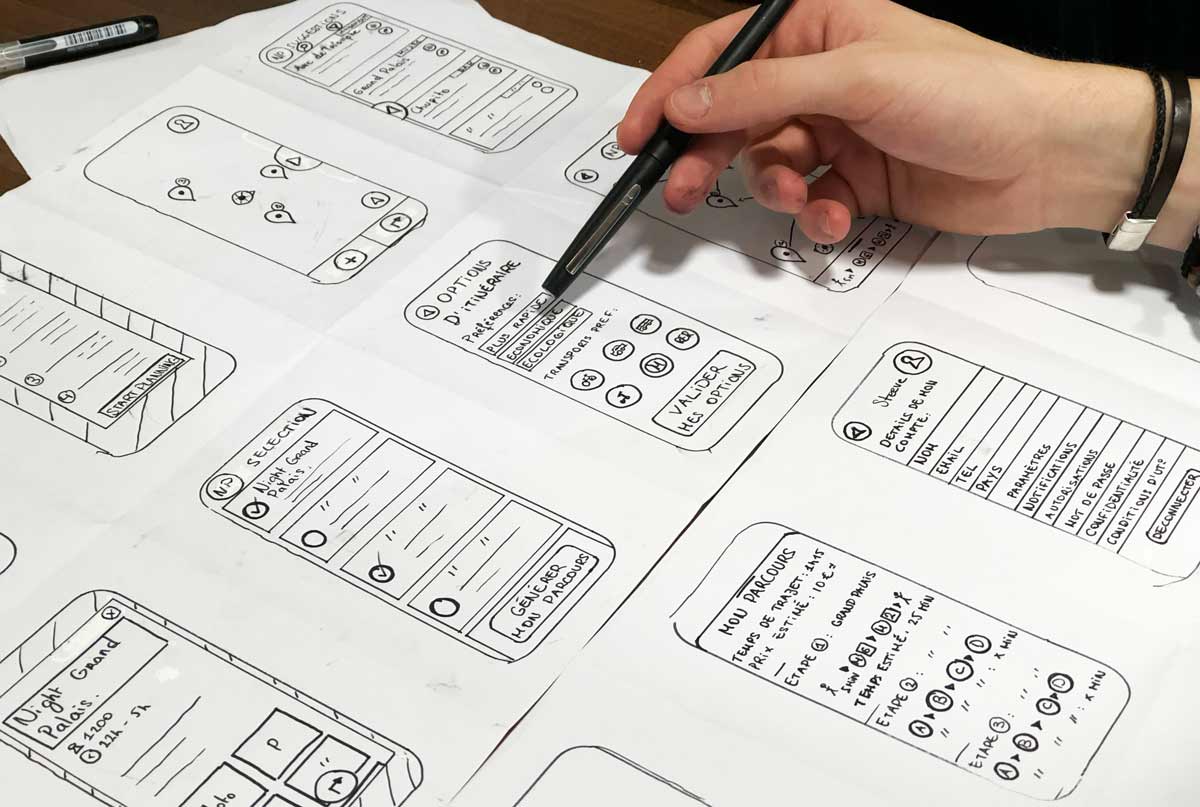
- Paper Prototypes: Sketches on paper where interactivity is manually simulated by a person acting as the computer.
- Digital Prototypes: Basic wireframes where interactions, like clicking a button, navigate between screens.
Benefits and Drawbacks of Paper Prototypes
Benefits:
- Cost-Effective: Only pen and paper are needed.
- Fast Iteration: Quickly create and iterate on multiple ideas.
- Low Commitment: Easy to discard and redo.
- Encourages Feedback: Less polished, making it easier for others to critique.
- Collaborative: Team members can each sketch different parts of the design.
Drawbacks:
- Hard to Interpret: Users need to imagine the final product.
- In-Person Testing Required: Requires manual changes to simulate interaction.
- Challenging for Remote Teams: Best suited for in-person collaboration.
Using Paper Prototypes: Paper prototypes are great for brainstorming and early testing. You can quickly draw and compare different ideas, helping clarify visual concepts.
Designing for Mobile First: Designing for mobile first ensures that the design works well in the smallest space. If it looks good on a mobile screen, it will likely fit well on larger screens too.
Tools and Techniques for Paper Prototyping
Index Cards: Draw each screen on a separate index card. Arrange them on a whiteboard or table to simulate user flow. Easy to add, reorder, or remove cards during brainstorming.
Sticky Notes: Use different sizes and colors to represent parts of your design or highlight important elements.
Stencils: Pre-made stencils help create neater, more realistic drawings, especially useful for those new to sketching.
Demo Devices: Cut paper in the shape of a mobile phone to frame your sketches, providing a more realistic user experience.
Steps to Create a Low-Fidelity Prototype
- Gather Materials: Paper wireframes, scissors, pen/pencil, and extra paper.
- Cut Out Screens: Cut each wireframe into individual pieces.
- Select a User Journey: Choose a specific user journey to prototype, like ordering coffee through an app.
- Arrange Screens: Sequence the screens to follow the user journey from start to finish.
- Review the Sequence: Imagine using the prototype as an actual app. Tap on elements like buttons to test their placement and functionality.
- Rearrange and Add Screens: Adjust the order as needed and draw any missing screens.
Creating Digital Low-Fidelity Prototypes
In a digital low-fidelity prototype, users should be able to click buttons and navigate to the correct screens. Use tools like Figma, Sketch, or Adobe XD to create interactive wireframes.
Questions to Consider
- What user flows will be followed?
- Which buttons will users interact with and in what order?
- What should happen after users click a button or submit a form?
- Are all necessary screens connected? If not, remove the element or create a new screen.
Final Checklist for Your Prototype
- Have all wireframes been connected to complete the main user flow?
- Is there a way for users to move forward and backward within the flow?
- Are navigation cues clearly indicated?
- Is there an indication of successful completion of the activity?
- Does the prototype return users to the starting point after completing the activity?
Keeping Up with Trends
In 2024, prototyping tools and techniques continue to evolve. Tools like Figma and Adobe XD now offer even more advanced features for creating interactive prototypes. AI-assisted design tools can help automate parts of the design process, making it easier to iterate quickly. Additionally, remote collaboration tools have improved, making it easier for teams to work together on prototypes from different locations.