Empathy Maps
An empathy map is a straightforward chart that captures what designers have learned about a user type. It focuses on four key areas: what the user says, thinks, does, and feels. This tool helps designers tap into users’ minds and hearts, providing a deeper understanding of their thoughts and feelings in specific situations.
Personas
Personas are fictional characters that represent the goals and characteristics of a larger user group. They help designers keep the target audience front and center. By creating detailed user profiles, designers can clearly envision the potential users they are designing for.
User Stories
A user story is a brief, fictional narrative told from a persona’s perspective. It introduces the user, outlines an obstacle, and states the ultimate goal. User stories deepen understanding of a user group and inspire empathetic, user-centered design decisions. They help prioritize user needs, focusing on the most critical issues to address.
User Journeys
A user journey maps out the series of experiences a user has while interacting with a product. It builds on personas and user stories to generate design ideas that cater to user needs and alleviate pain points. Together, empathy maps, personas, user stories, and user journeys help create a problem statement—a clear description of the user’s needs that the design should address.
Problem and Goal Statements
A problem statement includes a fictional user’s name, characteristics, needs, and key insights from research. A goal statement is a concise description of the product and its benefits, outlining who the product will serve, what it will do, and why it solves the user’s needs.
Goal Statement Template:
Our [product] will let users [perform specific actions], affecting [describe who the action will affect] by [describe how the action will positively affect them]. We will measure effectiveness by [describe how you will measure the impact].
User Flows
A user flow illustrates the path a user takes on an app or website to complete a task. It helps designers understand how users navigate through the product, making decisions and taking actions. User flows use specific shapes to represent interactions:
- Circles: Actions users take
- Rectangles: Screens users experience
- Diamonds: Decisions users make
- Arrows: Flow of information
Designers must consider the entire journey users take to get what they need from the product. User flows may change based on user needs and circumstances, especially if the problem statement changes.
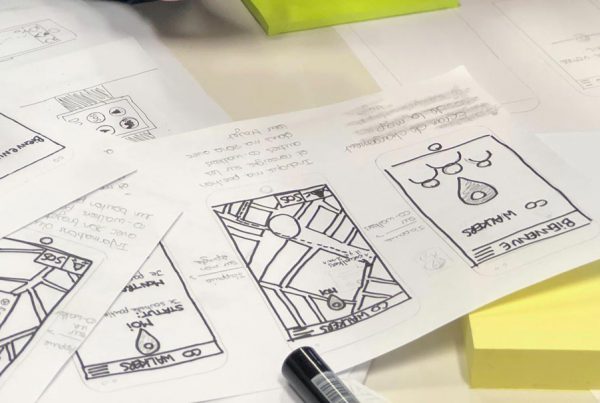
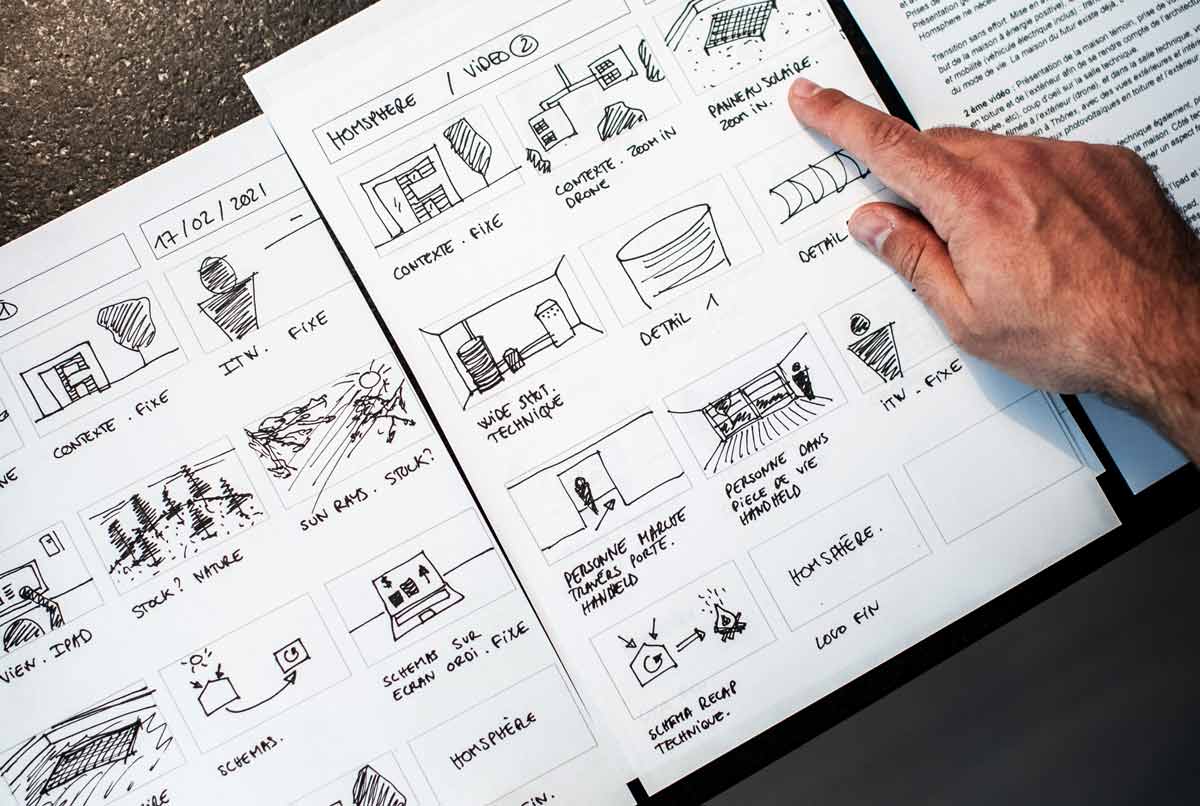
Storyboards
Storyboards visually represent how a user interacts with a product. There are two types:
- Big Picture Storyboards: Focus on the overall user experience, including their context, needs, and emotional engagement.
- Close-Up Storyboards: Focus on specific product details and user interactions, often used in later design stages.
Creating a Big Picture Storyboard:
- Start with a problem statement.
- Create a goal statement.
- Set up the storyboard.
- Add the storyboard scenario.
- Draw one idea per panel, focusing on user experience and emotions.
Creating a Close-Up Storyboard:
- Start with a problem statement.
- Create a goal statement.
- Set up the storyboard.
- Add the storyboard scenario.
- Draw one idea per panel, focusing on the product and user interactions.
Fidelity in Design
Fidelity refers to how closely a design matches the final product:
- Low Fidelity (Lo-Fi): Simple, less polished designs used for quick idea exploration.
- High Fidelity (Hi-Fi): Detailed, polished designs used for testing and specific feedback.
In UX design, a strong approach always puts the user at the center, ensuring that the design solves real problems that users face.